Written by the Milistuff editorial team – anaesthesiologists and CPR instructors. This packing list does not replace training; only carry what you have practised with.
Anyone searching for the "best first aid kit" usually finds comparisons of pre-packed bags – counted in number of items. But the number of plasters says nothing about what the kit can handle when it really matters. For those who work in security, in the fire and rescue services, in the armed forces or in a hunting party, the question is a different one: can the kit stop a life-threatening bleed within a few minutes, in the dark, with gloves on?
This guide is a packing list in order of priority. What you put in the bag first is what saves lives first.
Start with what kills fastest
The Swedish Resuscitation Council uses the SX-ABCDE model: S for safety and X for exsanguinating (catastrophic) haemorrhage, before airway and breathing. The reason is that major bleeding can lead to death within minutes, long before a breathing problem has had time to do so. A duty kit should therefore be built in the same order.
Also consider who the kit is for. A personal kit (IFAK, individual first aid kit) is carried so that your own injury or a colleague's can be treated – and whoever helps you should use your kit, not their own. That is why everyone on the team should pack the same way and carry the kit in the same place.
The packing list – in order of priority
1. Bleeding control (X)
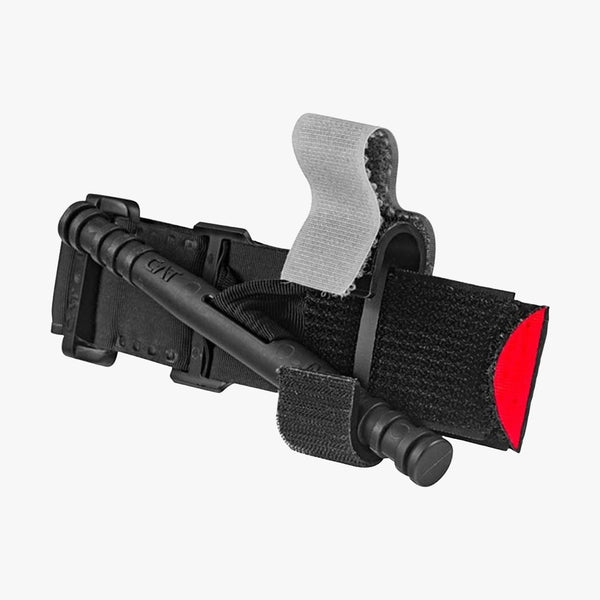
- A tourniquet, preferably a model on the CoTCCC list, for example CAT Gen 7. Carry it outside the bag, in its own tourniquet holster, so that it can be reached with one hand. Choose a model with the help of our tourniquet guide.
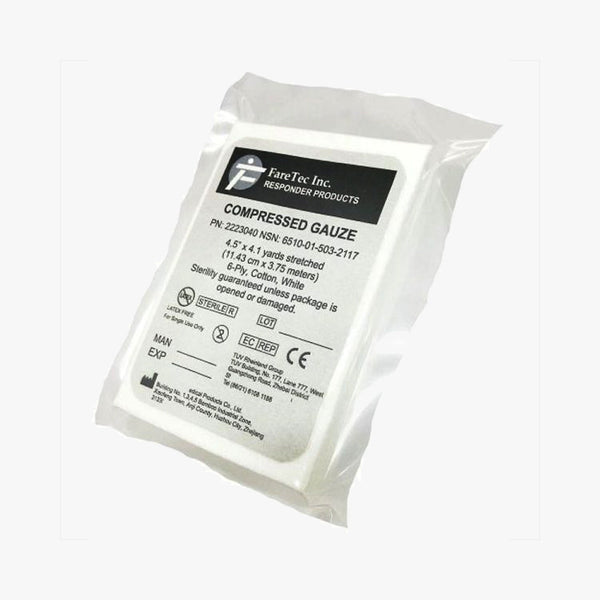
- Gauze for wound packing. Vacuum-packed gauze takes up little space, or a haemostatic dressing such as QuikClot Combat Gauze. The European Resuscitation Council (ERC) 2025 guidelines recommend a plain or preferably haemostatic dressing applied directly on or into the bleeding wound, with firm pressure on top.
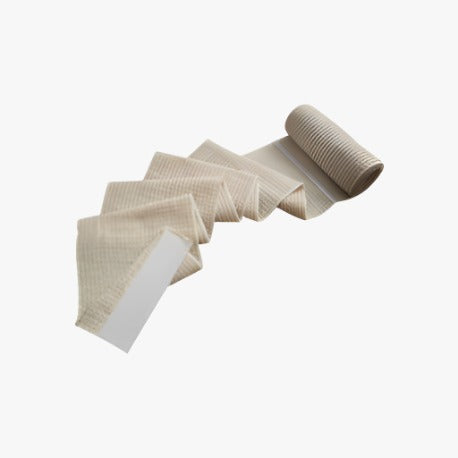
- A pressure bandage that maintains pressure when you have to let go, for example Control Wrap 4", Olaes 4" or a classic pressure bandage.
You should be able to find this part blind. Everything else in the kit is secondary.
2. Breathing and chest (B) – only if you are trained
A chest seal belongs to the TCCC level. The ERC 2025 first aid guideline is clear: without training, an open chest wound should be left open and not covered. Those who are trained and have the equipment can apply a vented seal that lets air out on exhalation, for example the H&H Hyvent Twin Pack – two seals, for entry and exit wounds. Choose a vented seal. More options are available under Chest seals.
Advanced airway equipment, such as nasopharyngeal and oropharyngeal airways, does not belong in a personal kit unless you are trained to use it.
3. Warmth
A casualty who is bleeding and lying still cools down fast, even on a late summer evening. A rescue blanket weighs almost nothing and is easy to pack. Also insulate against the ground. Larger options are under Hypothermia.
4. Protection and documentation
- Disposable gloves, for example nitrile gloves in a two-pack, at the top of the kit so that they come out first.
- A marker pen such as the Sharpie Fine to write down the time the tourniquet was applied.
- Shears to cut clothing and expose the injury. Trauma shears can be carried in their own holder.
What does not belong in a duty kit
- Medicines, unless there is a prescription and a procedure for them.
- Equipment nobody on the team has practised with.
- So many small plasters that bleeding control ends up at the bottom.
Blisters and minor injuries belong in a separate first aid box in the vehicle or at the station, not in the bag that has to stop a life-threatening bleed. Read more in our guide on first aid in the car.
The bag: what decides whether the kit gets used
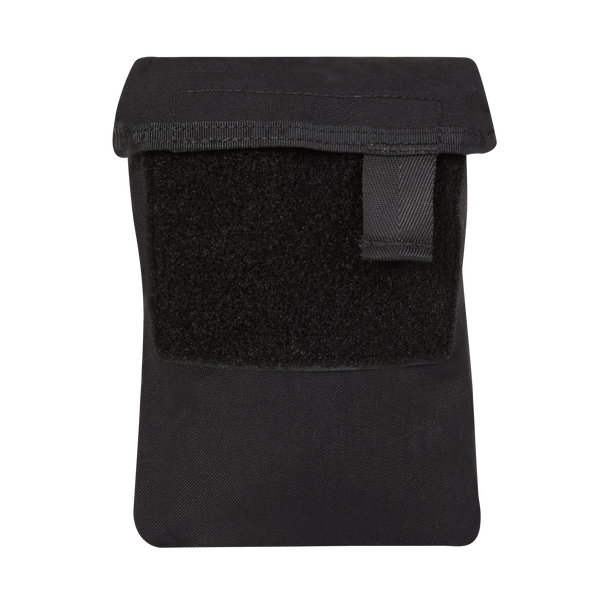
A good bag opens with one hand, shows its contents immediately and sits where both hands can reach it. The Snigel Trauma Pouch -17 is a rip-away medical pouch: it can be torn off its mount on the vest or belt and placed next to the casualty. A removable insert makes it easy to move the contents between vest, backpack and vehicle. More options are among our pouches and mounts.
Pack so that you can take out the bleeding control without emptying the bag. Mark the kit clearly, for example with a MEDIC patch, so that others can find it.
Different jobs, different additions
- Security staff and guards: the kit must fit on the belt or vest and be comfortable to carry for a whole shift. Bleeding control is the core.
- Fire and rescue services: a personal kit plus a larger bag in the vehicle with more dressings, rescue blankets and splints.
- Armed forces: follow your unit's own IFAK standard. This list does not replace it.
- Hunting parties: a bleeding injury from a gunshot or knife is the injury that requires the fastest action. At least one person in each drive should carry a tourniquet and a pressure bandage, and everyone should know where they are.
Check the kit
Go through the kit regularly: check expiry dates on sterile dressings and haemostatic products, that packaging is intact and that the tourniquet has not been used for training. Replace anything that has been opened. Replenish used supplies from Medical.
Sources
- Swedish Resuscitation Council: The ABCDE concept and SX-ABCDE (in Swedish)
- European Resuscitation Council Guidelines 2025 First Aid
- CoTCCC: Recommended Devices & Adjuncts (15 December 2021)